Shoemaking Experience With Artisan.M.Workshop
- Linus Chu

- Sep 13, 2018
- 4 min read
Updated: Jan 18, 2019

As a menswear enthusiast, I think it is quite important to pay attention to the craftsmanship behind the garments we wear.
Not only because it is sensible for us to be more aware of why our clothings are crafted in a certain manner; but more importantly there is no better ways to recognize and appreciate the effort put forth by the artisans than this.
Thus, during my trip back to Hong Kong, I decided to learn more about shoemaking by attending a handmaking leather shoe course. Believe it or not, I crafted a pair of Oxfords with just 5 days.
In today's article, I would like to share with you all some highlights of the 5-days shoemaking experience.

So the first step of the whole shoemaking experience is to decide what type of leather shoes you intend to craft.
This is when you could really get creative in designing. Not only could you choose the type of shoe you want to make; but also you could be very specific on the how the broguings to be like, shall you decided to add some to your shoe.
I was very fortunate that my design was successfully delivered as the artisan, Marco, was very skillful in creating the pattern for me.

After getting the measurements and the design, I was given various paper templates for cutting out the calf leather.
This is the step where you could see how many pieces of upper would be stitched together in the later stage, depending on how many pieces of leather you cut out.
By the way, this is also the reason why some say it is much easier to make a pair of shoes that have many pieces of leather stitched together than a whole-cut oxfords. It is just less challenging to stitch together multiple pieces of leather together than cutting two perfectly-shaped leather.

The following step is to add broguings to the leather.
This is fairly easy and straight forward as what you do basically is to punch multiple holes, using various tools provided by the workshop. This step would usually only take you about 5 to 10 minutes at max, depending how much broguings you have.
If you want to learn more about this process, check out the video below to see how broguings are actually added to the upper.

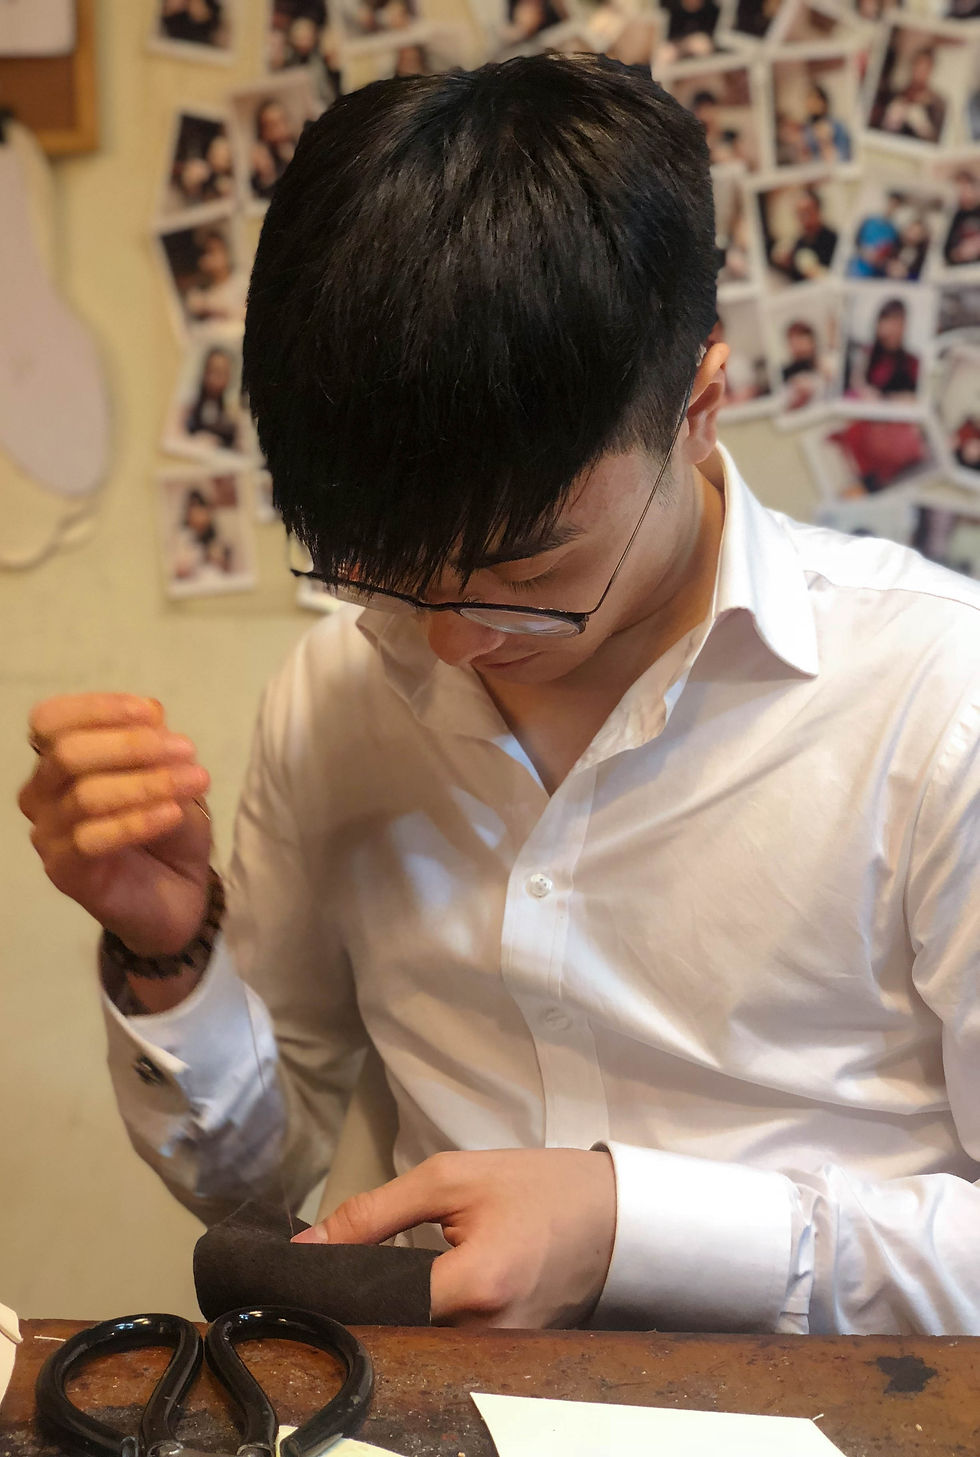
What really takes up the majority of the shoemaking process is the hand-stitching process.
I recall spending as much as 5 hours time just to sew each leather pieces together, as well as the lining to the upper, even with the help of the others.
The reason why it is time-consuming is because it really requires the artisans to be very focused. Little mistakes such as the thread not being tightened properly would set you back for at least another 3 minutes or so just to rewind the thread.

Of course, there are some minor edits in between these steps. This includes trimming the extra inner-lining or gluing the leather to where they should belong to etc.
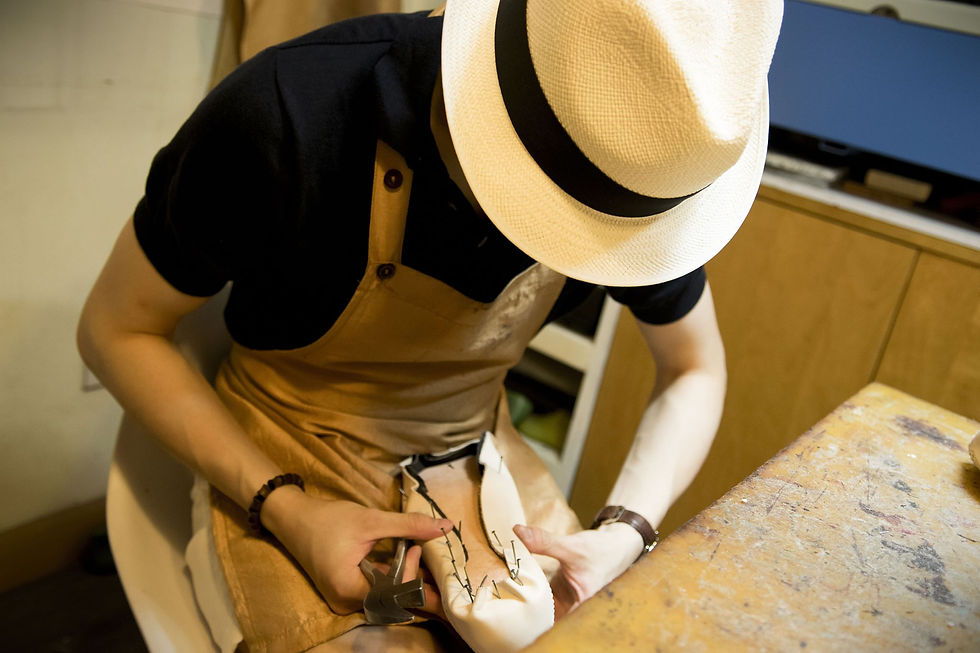
It is important to get all of these right before you move on to the next step, also known as the most challenging in shoemaking -- hand lasting.

What's so sophisticated about this process, as known as side-lasting, is that it could only be done properly by human hands. Machines simply cannot pull the leather close enough to last to make a beautiful curve at the waist.
It is no easy job, however, even with the help of the tools. As you could see from the picture above, I was struggling to carve out the waist of the last, using a pair of pliers and some nails.
I'm glad that the waist ended up nicely at the end.
After attaching the sole to the upper, what's left to do is the most exciting part -- hand-painting the pair of shoes.
In terms of the color, I decided to go for a two-tone midnight blue and black at the cap-toe combination. Not only it's because Marco specializes in color-mixing, but also it is a pair of handmade shoes after all.
As for the process to paint the shoes, it was rather straight forward. All I had to do was to cover the leather with blue paint while painting them in one direction. And for the cap-toe, I would only have to paint for several times more at that area in order to darken them.
Last but not least, I finished up by applying a brush to shine and smoothen the paint throughout the surface.

And this is it. After 5 days of intensive leather-shoe making, I finally have my very first pair of handmade leather shoe come to life. They look gorgeous for a pair of shoes that is crafted by a first-timer don't they?
By the way, the place I went for this shoemaking course is called Artisan.M.Workshop.
Aside from crafting leather shoes, Marco also offers other courses such as leather bags crafting, as well as many others to come. Make sure you check out the workshop if you are interested in leather-craft.
FB: https://www.facebook.com/artisan.m.workshop/
Address: Room 1309, Flat C, 13/F, Kwai Shing Industrial Building Phase 1, 36-40 Tai Lin Pai Rd, Hong Kong
Photography: Artisan.M.Workshop


Comments